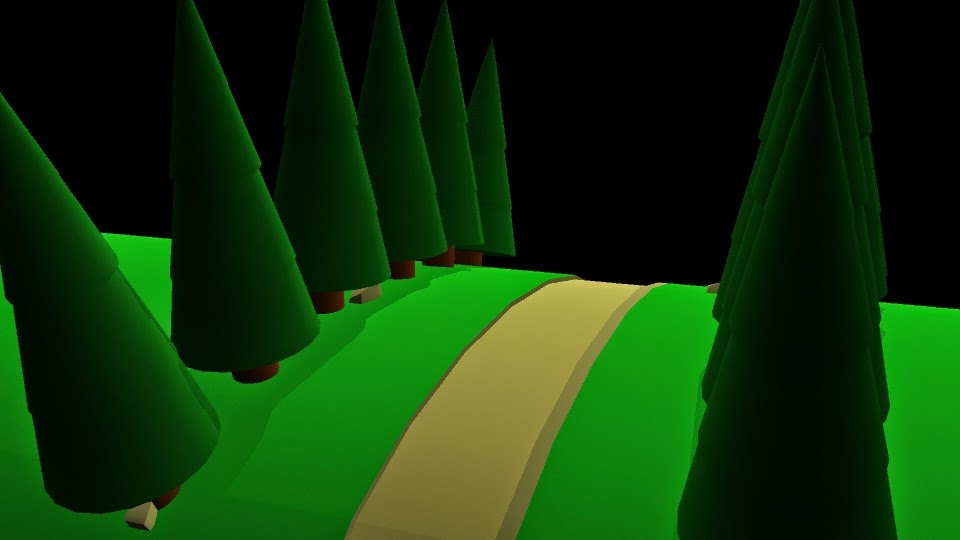
Below are a series of light tests that I tried. I tried using different intensities of the ambient light, as well changing the colour to a pale yellow. I chose to do a pale yellow because Hofmann's work in some cases features one colour more than any other. For the textures and the lighting, yellow will feature regularly.
Showing posts with label Lighting. Show all posts
Monday, 13 July 2015
Friday, 24 April 2015
Fantastic Voyage: Lighting Test - #3
These are my lighting tests for the third setting. I added the ambient light first, before adding the directional light that is there to give the tree a shadow. I quite like how the shadows works as it looks a connection between the path and the tree. Although, that will mean that the boy will be in shadow when looking at the slime mold.
Friday, 17 April 2015
Fantastic Voyage: Applying Shadows
As I said in the previous post, I needed to add shadows into the first setting. I added the directional light that I used in the second setting, and then I tested out different intensities. As this is on top of a hill, I think it would be a good idea to make it look a little brighter.
Fantastic Voyage: Lighting Tests - #2
Following the same stages as how I'm making the first setting. I added some simple shaders so that I can see how the colours work with the light. I added the ambient light that was in the first setting and then I added a directional light because I wanted to bring in some shadows. I will, obviously, need to do this for the first setting as well.
I quite like how it looks as it isn't too dark and is very colourful, and so will work well with the 2D elements. I will probably need to edit the lighting once all the textures have been put into the scene, but so far I think the light works quite well.
Monday, 13 April 2015
Fantastic Voyage: Lighting Tests - #1
Below are a series of lighting tests I did. I applied a some very quick shaders to the trees, floor etc. just to see how the light works with the colours, even though I will add UVs later. I chose an ambient light because it is the strongest light and as the light source is the sun, it is the suitable chose - I made it give a yellow light because of this. I played around with the intensity and I didn't go over 1.00. I think from 0.8 to 1.00 is the range I'll go for because it is neither too dark or too bright. I will need to do some more lighting tests to see which level of intensity I should choose.
Monday, 24 November 2014
What If? Metropolis: Bridgtet Riley City Lighting tests
I wanted to put together a quick little city inspired by my 85th thumbnail. I chose this thumbnail because I like it's simplicity, but it also has an interesting Riley-esc style to it through the building design and floor. I uploaded this as a scribd document because of the amount of pictures. I based the buildings in the city on my travelogue as it has the lighthouse and theatre that I described. These buildings are obviously the most detailed as all the other buildings are just simple polygon primitives that I played with slightly. I wanted the lighthouse to be the main supplier of light for this city as I want the city to be quite dark and mysterious, and so a good way to show that, I think, is through a lack of light, which is also why there isn't any colour. I did however add light to the theatre to make it look like something is happening inside the building. By the end, you can see I also started playing with the render regions and this gave me some interesting results. By doing that, the light looks very linear, and it also matches the style of some of Riley's work where certain shapes fade into the darkness.
Subscribe to:
Posts (Atom)